Polishing a watch case at home sounds satisfying. You see scratches. You want a clean shine. Therefore, the temptation feels strong. However, polishing can also go wrong fast. One careless pass can soften sharp edges, blur factory lines, and reduce the watch’s value.
That risk explains why many collectors avoid polishing entirely. Yet some owners still choose to do light cosmetic work at home. Moreover, sometimes a watch looks tired, and you want it to look fresh again. If that is your goal, you need a process that prioritizes control, not speed.
This guide shows you the process of polishing a watch case step by step. It focuses on preserving edges, protecting brushed surfaces, and avoiding the most common mistakes. It also explains when you should stop and choose professional service instead.
Should You Polish A Watch Case At Home?
Before you touch a cloth, ask a basic question. Why are you polishing?
If the watch is new, polishing rarely makes sense. Scratches are normal. Moreover, the original condition often matters for resale. Therefore, you may lose value for very little visual improvement.
If the watch is vintage, be even more careful. Vintage collectors value untouched cases—sharp lugs, case thickness, and original geometry matter deeply. Consequently, home polishing can permanently reduce authenticity.
However, if the watch is a daily wearer and you care more about appearance than resale, light polishing can be reasonable. Also, if the watch already has polished wear, careful correction may make it look more cohesive.
So, polishing is not automatically wrong. Yet, it must stay minimal, targeted, and controlled.
What Polishing Does To A Watch Case
Polishing removes material. That is the core truth. Therefore, every polishing session permanently changes the case.
A watch case has design lines. It has edges, bevels, curves, and transitions between finishes. When you polish, you remove the high points first. Consequently, edges soften before scratches disappear fully.
This is why aggressive polishing ruins cases. The surface looks shiny, but the shape seems wrong. Moreover, once sharp edges disappear, they rarely return without professional re-cutting.
So, the goal at home should never be “make it look new.” Instead, the goal should be “reduce visual distraction while preserving geometry.”
Understanding Case Finishes Before You Start
You must identify the watch’s finishes before polishing. Therefore, inspect the case under bright light.
Most cases include a mix of:
- Polished surfaces, which look mirror-like
- Brushed surfaces, which show directional grain
- Beveled edges, which often transition between the two
If you accidentally polish a brushed surface, you ruin the brushing pattern. Consequently, the watch looks uneven and incorrect.
So, you must isolate polishing to the polished areas, unless you know how to rebrush correctly.
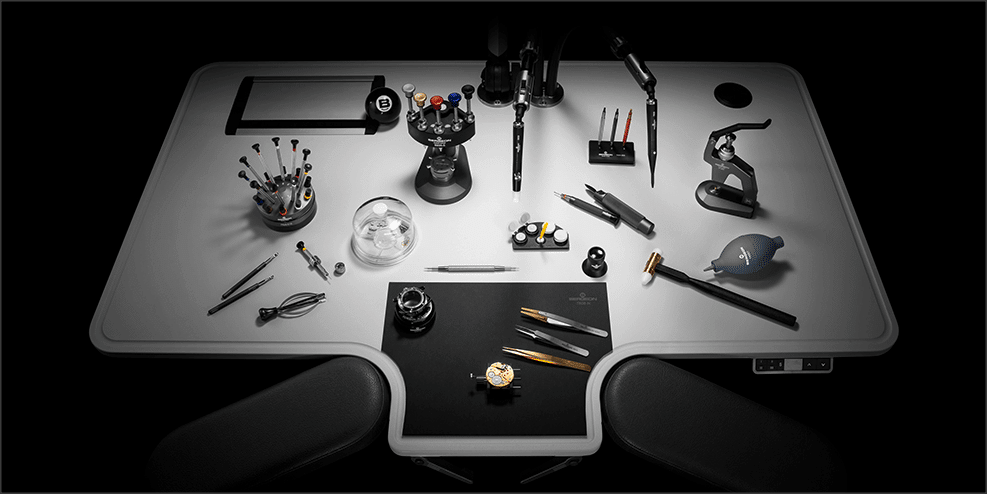
Tools And Materials You Actually Need
You do not need a full workshop. However, you do need the right basics.
- Microfiber cloths, at least two
- Masking tape or painter’s tape
- A polishing cloth or very mild metal polish
- Cotton swabs for tight areas
- Soft brush and mild soap for cleaning
- A bright lamp or desk light
- Optional: cape cloth or ultra-fine abrasive pads for brushing restoration
Avoid power tools at home. Therefore, do not use a Dremel or rotary buffer. Those tools remove metal quickly and unevenly. Consequently, they destroy edges before you notice.
At-home polishing should remain manual.
Step 1: Decide What You Will And Will Not Polish
This step prevents mistakes. Therefore, do it slowly.
Pick the specific areas you want to improve. For most watches, these are:
- Polished case sides
- Polished bezel surfaces
- Polished clasp surfaces
Do not polish:
- Sharp lug chamfers
- Brushed lugs
- Brushed case tops
- Crown guards with crisp geometry
- Deep dents that require metal removal
If scratches sit on a brushed surface, consider leaving them. Alternatively, learn brushing separately before attempting it on your watch.
Because edges define the case, you should treat them as “do not touch” zones.
Step 2: Clean The Watch Thoroughly First
Many “scratches” are actually dirt and residue. Therefore, cleaning can improve appearance without polishing.
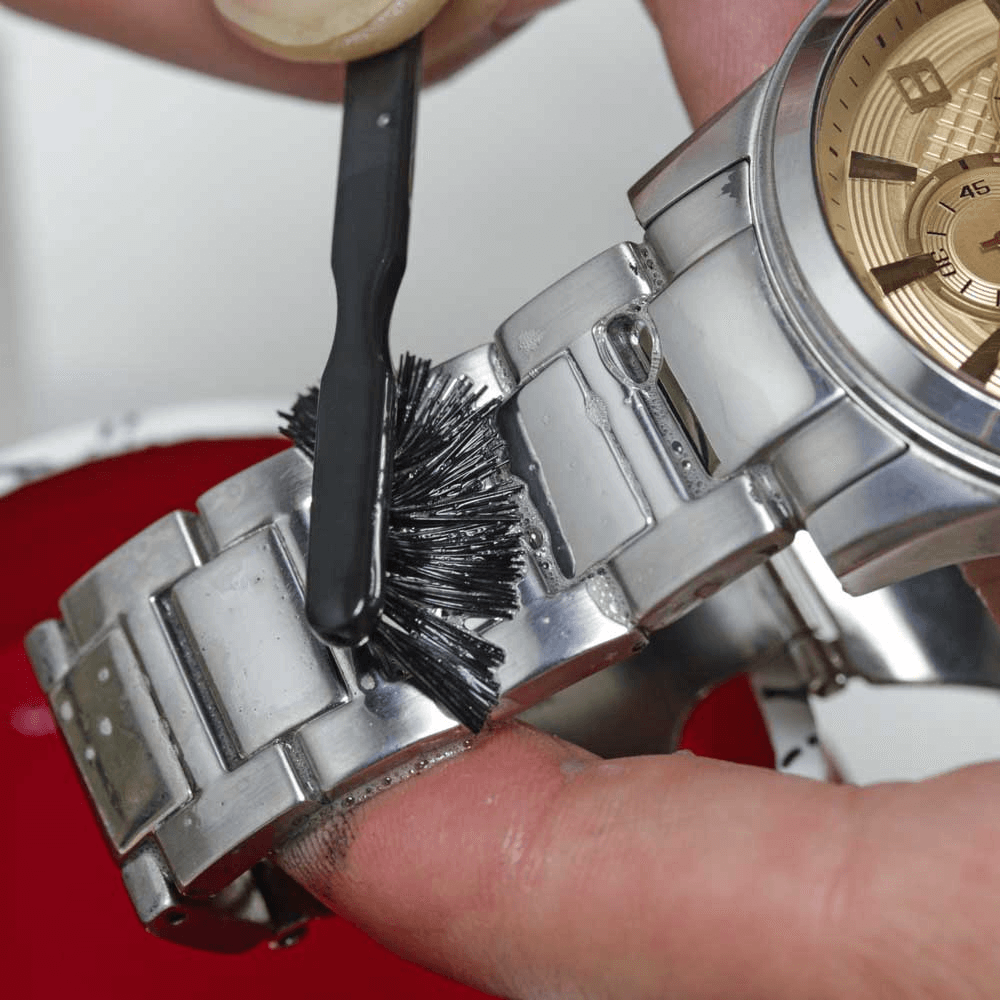
If the watch is water resistant and the crown is sealed, use warm water and mild soap. Then gently brush with a soft toothbrush. After that, rinse and dry completely.
If the watch is not water resistant, use a damp microfiber cloth instead. Then dry carefully.
This step matters because polishing over grit can add micro-scratches. Consequently, the case can look worse after you “improve” it.
Step 3: Tape Off Everything You Want To Protect
Taping is what saves edges. Therefore, treat it as essential.
Use painter’s tape to cover:
- Brushed surfaces
- Edges and bevels near polished zones
- Crown guards, if you are polishing nearby
- Bezel edges, if you are polishing the bezel top
- Case back lip and gasket areas
Press the tape down firmly. Also, trim the tape for clean boundaries. A crisp tape line creates a crisp finish boundary.
If you only do one safety step, do this one.
Step 4: Start With The Mildest Method First

Polishing should move in levels. Therefore, always begin with the mildest approach.
Start with a clean microfiber cloth and gentle pressure. Sometimes that alone improves the shine by removing haze.
If the surface still looks dull, use a polishing cloth designed for light correction. Apply minimal pressure and short strokes. Avoid rubbing across edges.
If you use a small amount of metal polish, use almost nothing. Place a tiny dot on the cloth. Then work slowly.
More polish does not mean better results. Instead, it increases risk.
Step 5: Use Correct Motion For Polished Surfaces
Polished surfaces want controlled, consistent motion. Therefore, avoid circular scrubbing.
Use straight strokes that follow the surface. If the case side runs horizontally, polish horizontally. This reduces the appearance of uneven swirl marks.
Keep the cloth flat. Also, keep your fingers away from the edges. If your fingertip rides over a chamfer, it will soften it.
Work in short sessions. Then stop and inspect. Polishing rewards patience, not intensity.
Step 6: Focus On Scratch Blending, Not Erasing
This mindset preserves edges. Therefore, adopt it early.
Deep scratches require heavy metal removal. Heavy removal softens geometry. Consequently, chasing “perfect” causes real damage.
Instead, aim to reduce contrast. Lightly blend the scratch so it reflects less harshly. When the scratch becomes less obvious at normal viewing distance, stop.
A watch should look honest, not artificial.
Step 7: Keep Away From Edges And Transitions
Edges are the hardest part. Therefore, treat them as danger zones.
If you polish right up to an edge, the edge will round. This happens because the cloth compresses and wraps over the corner. Consequently, the edge disappears faster than the scratch.
So, keep a safe buffer. Leave a millimeter of untouched area near a crisp edge. The watch will still look better, and the geometry stays intact.
If you want the edge itself polished, do not do it at home. That work requires rigid backing and professional technique.
Step 8: For Brushed Finishes, Use Controlled Re-Brushing Only If Necessary
Sometimes you accidentally mark a brushed surface. Therefore, you may want to restore it.
Brushing requires direction. Every brush line should move in the same direction. Consequently, random strokes look messy.
If you must re-brush:
- Tape off the polished areas tightly
- Use a very fine abrasive pad
- Pull in one direction only
- Use light pressure
- Repeat gently until the grain matches
Stop often and check the light reflection. If you overdo brushing, the surface becomes too matte and inconsistent.
If brushing feels intimidating, do not attempt it. Instead, leave it or seek professional help.
Step 9: Remove Tape And Clean Again
After polishing, residue will remain. Therefore, do a final cleaning.
Remove tape carefully. Then wipe the case with a clean microfiber cloth. If needed, use mild soap and water again, but only if the watch can handle it.
This step also clearly reveals your work. Sometimes, polish residue makes a surface look better than it truly is. Therefore, cleaning shows the real finish.
Step 10: Inspect Under Harsh Light
Soft lighting hides mistakes. Therefore, inspect under strong, direct light.
Look for:
- Uneven shine
- Swirl marks
- Dulled edges
- Finish bleeding into the brushed areas
- Over-polished crown guards
- Changes in bezel profile
If the case looks consistent and edges remain crisp, you succeeded.
If you see softened lines, stop immediately. Do not try to “fix” it by polishing more. More polishing usually makes geometry worse.
Common Mistakes That Ruin Edges
Most polishing damage comes from predictable errors. Therefore, avoid these.
- Using power tools at home
- Polishing across edges and bevels
- Trying to remove deep dents
- Skipping taping
- Using too much polish
- Scrubbing in circles aggressively
- Polishing brushed surfaces without re-brushing skill
- Chasing perfection instead of improvement
If you avoid these mistakes, your risk drops sharply.
When You Should Stop And Use Professional Service
Home polishing works best for light correction. Therefore, you should stop and outsource when the job gets complex.
Use professional service when:
- The watch is vintage or collectible
- The case has sharp factory chamfers
- The scratches are deep
- The watch has alternating brushed and polished geometry
- You want the case to look “like new.”
- You own a high-end piece where value matters
Professional refinishing often includes proper case re-cutting and re-brushing. Consequently, it restores the shape rather than flattening it.
The Best Mindset For Home Polishing
Think of home polishing like grooming, not surgery. Therefore, keep the work light.
Your watch will never stay perfect. Scratches will return. Consequently, aggressive polishing becomes a losing game.
If you polish rarely and gently, the case remains healthier over time. Moreover, small imperfections give a watch character.
So, polish for enjoyment, not insecurity.
Final Thoughts
Polishing a watch case at home can work, but only if you respect what polishing really does. It removes metal. It changes shape. Therefore, edge preservation must remain the priority.
The safest approach is manual, mild, and minimal. Clean first. Tape carefully. Polish only the polished areas. Blend scratches instead of erasing them. Then stop early.
When done well, home polishing refreshes a watch without destroying its geometry. Consequently, the watch looks cleaner while still looking authentic.
If you want the watch to look factory-new, choose professional refinishing. However, if you want a gentle improvement with minimal risk, this step-by-step method gives you the best chance of success.