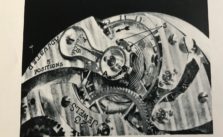
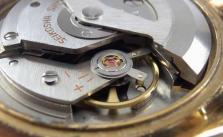
Disassembly of Calendar Mechanism
Remove minute work cock by taking out the two small screws. (The large screw holds the setting cap spring in place).
Take off the date jumper guard but exercise caution to prevent the date jumper and spring from becoming lost. Remove the date jumper and spring.
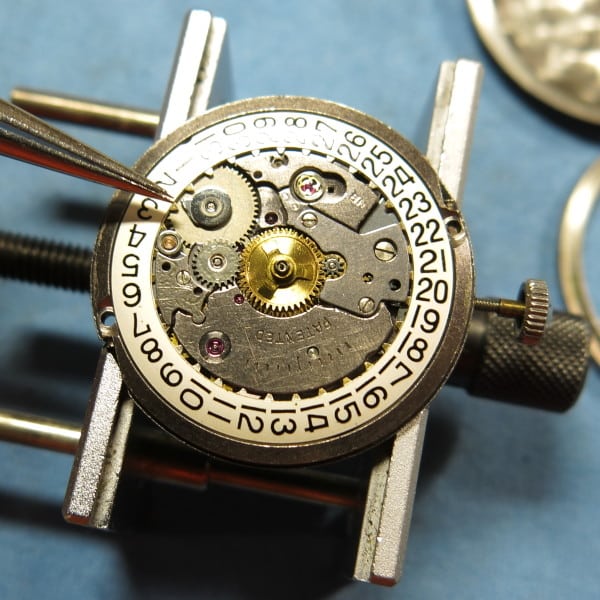
Lift the intermediate date wheel with its small plate as an assembly. Turn the date indicator driving wheel cap with tweezers so that either one of the two notches lines up with a tooth of the date indicator.
Remove the date indicator by gently lifting with tweezers near the setting stem.
Turn the date indicator wheel, if necessary, so that the finger or cam is pointing away from the headed post “A” which holds the slide in position.
Grasp slide at point shown by arrow and pull toward driving wheel (same direction as arrow). Lift gently and complete assembly can be removed. Slide and wheel or gear may be parted for cleaning. Remove the slide spring.
Lubrication
Use Hamilton PML grease at points shown by arrows.
Minute wheel and setting wheel posts.
Date indicator driving wheel post.
Intermediate date wheel post.
Slide guiding headed post.
Indexing finger (visible thru opening in cap).
Sliding surface of date jumper.
Point of contact of slide and its spring.
Assembly
Replace combination cannon pinion wheel and setting wheel.
Mount slide spring so that its curved end fits into opening at point “B”. Properly seat spring in its recess so that it lies perfectly flat.
If slide and gear were parted for cleaning purposes, then assemble these two parts by inserting slide between cap and gear. Make sure slide is as close to center of gear as possible (finger should point away from slide). This must be done mounting assembly to pillar plate.
Grasp gear with tweezers (slide away from you) and place over post, then push slide away from gear toward and under headed post.
Pull slide spring from underneath slide so that it makes contact with end of “L” shaped portion of slide at point “C”.
Line up either notch of the driving wheel cap so that a tooth of the date indicator will clear cap.
Put the date indicator into place. DO NOT USE FORCE. TOOTH OF DATE INDICATOR WILL CLEAR NOTCH IN CAP.
Place the intermediate date wheel with its small plate over the post provided with small pinion toward movement. Put date jumper into place and then insert date jumper spring. Place date jumper guard over the two pieces and secure with screw. Replace minute work cock and hour wheel.
Check calendar mechanism, before replacing dial, by turning crown while in setting position. It may be necessary to exert slight pressure on the hour wheel with pegwood as the finger begins indexing action. If this is done, hour wheel will not temporarily jump out of position.
Assemble dial to movement. Turn crown in setting position until date changes, and then push crown into normal position to avoid turning when replacing hands.
Replace the hour hand at the “12” position and the minute hand at several minutes before “12”. The date will change several minutes before midnight while actuating the calendar mechanism with the crown. However, the date change will not take place as rapidly during normal running of the watch; thus the reason for replacing the minute hand at several minutes before the midnight position.
